使用Arduino Nano通过Joystick模块控制两个舵机的代码
关于舵机的文章都陆续整理了好多了,原因是舵机对于现在的智能控制项目和机器人项目真的非常有用,这些文章包括:舵机角度控制原理、Joystick控制舵机…等等。
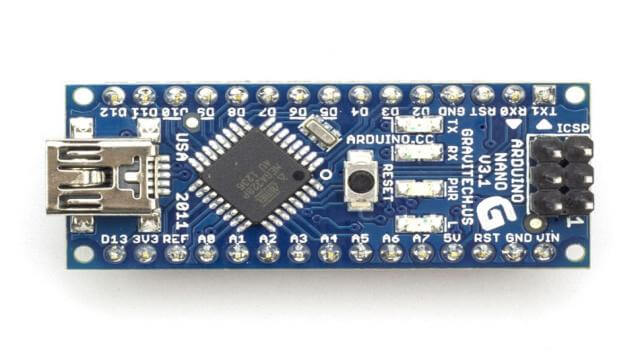
今天我们再来做一个舵机控制的实验,实验的主体是Arduino Nano,Nano因为体积小巧在一些项目中个人感觉,它比UNO等中大型开发板更受欢迎。
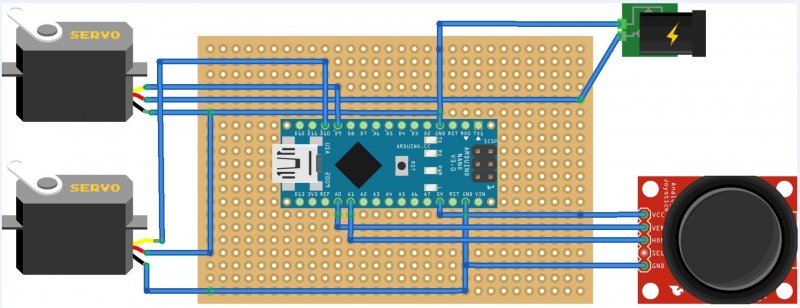
原件清单
- 180度舵机两个;
- Arduino Nano R3;
- Joystick模块。
项目构建
构建这个项目的主要目标是学习更多使用操纵杆模块来控制舵机的知识,然后可以通过这个项目来更深入的去制作机器人手臂或类似的东西。
电路原理图
关于Arduino Nano的知识,请查阅:Arduino Nano接口定义
项目代码
基础的原理知识我们不再多做介绍了,感兴趣的伙伴可以通过站内搜索功能查看更多的信息,下面直接附上本项目的代码:
#include <Servo.h>

Servo myservo1;  // create servo object to control a servo
Servo myservo2;
int potpin1 = A0;  // analog pin used to connect the potentiometer
int potpin2 = A1;
int val;    // variable to read the value from the analog pin

void setup() {
  myservo1.attach(9);
  myservo2.attach(10);// attaches the servo on pin 9 to the servo object
}

void loop() {
  val = analogRead(float(potpin1));            // reads the value of the potentiometer (value between 0 and 1023)
  val = map(val, 0, 1023, 0, 180);     // scale it to use it with the servo (value between 0 and 180)
  myservo1.write(val);                  // sets the servo position according to the scaled value
  delay(15); // waits for the servo to get there

  val = analogRead(float(potpin2));            // reads the value of the potentiometer (value between 0 and 1023)
  val = map(val, 0, 1023, 0, 180);     // scale it to use it with the servo (value between 0 and 180)
  myservo2.write(val);                  // sets the servo position according to the scaled value
  delay(15);

}


